P r e t t y P i c t u r e s T o u r
Hello!
Hi, welcome to my tour of pretty astronomical pictures!
For nearly 20 years, I've been an early adopter and advocate for videoastronomy.
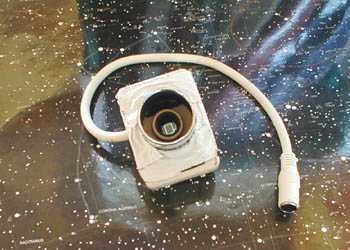
First using old modified 1/4" CCD security cameras for Lunar/Solar/Planetary viewing,
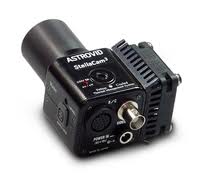
then progressing on to the StellaCam line of deep-sky cameras, doing video-observing.
As the StellaCam's advanced in their capability, going from being able to expose up to 2 seconds, then up to 8 seconds,
then multi-minute exposures with a peliter cooler, my skills and telescope equipment also advanced,
learning how to better polar align, balance my mount, and autoguide. I also began dabbling in taking dark frames and using imaging filters, and basic image processing.
But I never was very interested in moving up the ladder to become a full-blown astrophotographer, just too much post-processing on the computer for my taste.
I enjoyed the near-realtime video observing experience and for years kept finding ways to continue expanding my observation projects using the monochrome 1/2" CCD StellaCam-3.
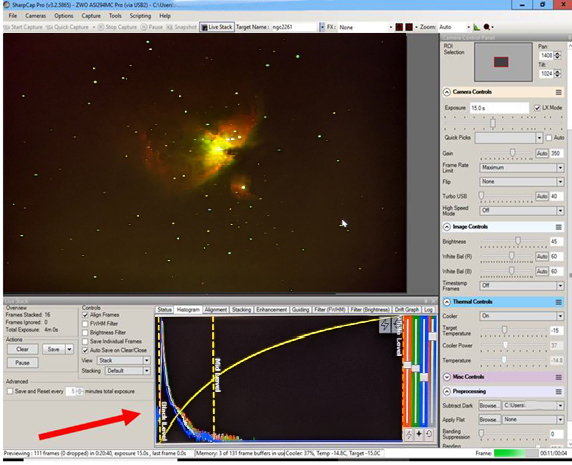
But with the new astronomical CMOS 'video capable' cameras entering the mainstream, and the new "LiveStack" realtime ability of the SharpCap imaging program,
I decided the time was right to begin phasing out my old analog camera.
Recently, I added a ZWO filter drawer, (with additional filter holders), and a 2" ZWO IR/UV cut filter, along with a 2" Optolong L-Pro light-pollution filter to go with my Optolong 2" L-eNhance narrowband filter.
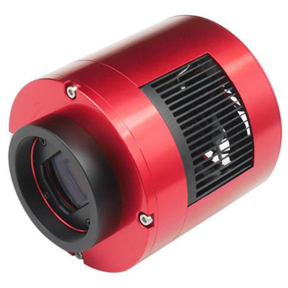
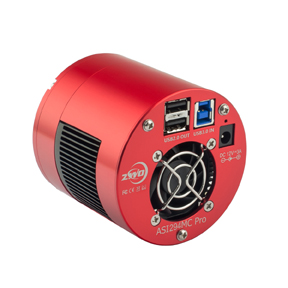
I also occasionally utilize two additional ZWO cameras: a ASI120MC for planetary imaging at prime focus of a 8" & 14" SCT,
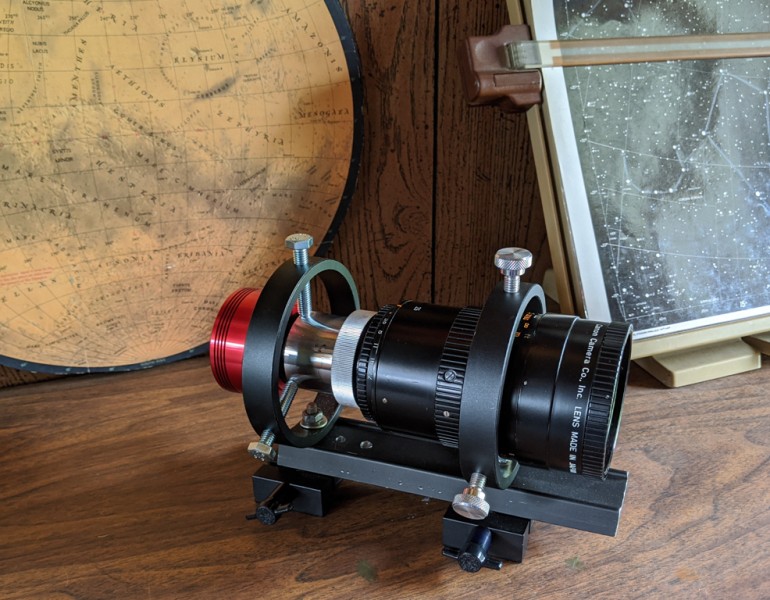
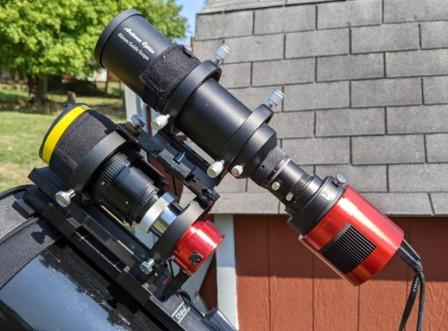
and a ASI290MC attached to a Canon 25mm-100mm Zoom CCTV lens.
This now gives me a complete interchangeable 2" filter set that covers planetary, (IR/UV), starclusters & galaxies (L-Pro), and emission nebula (L-eNhance) imaging.
So I decided to test the filters. First I wanted to see how close the three filters were to being par-focal to each other.
My hope was that they would be close enough to not require re-focusing the telescope between swapping out filters.
I used a Bahtinov focusing mask with the bright star Arcturus for the test.
Then I wanted to take a test exposure of a deep-sky object that would hit each filters strength.
So I chose M20 'the Triffid Nebula as it's an object with a nice star field that in addition contains emission, reflection, and dark nebula.
I kept the exposures short, 30 second subs for 15 minute total exposure.
During the imaging, I kept nearly all the various camera settings the same for each filter, only making a few slight tweaks when using the L-eNhance filter to help bring out detail in M20, as the L-eNhance really needed a longer exposure.
I've created a PDF of the test results. Here's a link to the doc:
Filter Test PDF
Overall, I'm very happy with the test results. The IR filter gives an overall pleasant, natural looking image of M20, and should be excellent on the planets.
The L-Pro light pollution filter also worked very well, and I think that if I had adjusted the the camera settings specifically for the filter,
I would have produced an image close to that of the IR filter.
I'm looking forward to seeing how the L-Pro will work on galaxies from my backyard.
We already know that the L-eNhance works wonders on emission nebula from a light polluted or 'moon up in the sky' scenario.
As with the L-Pro, I would have adjusted the camera settings to take better advantage of the L-eNhance capabilities,
if it wasn't for wanting to keep the test conditions consistent, as close as possible.
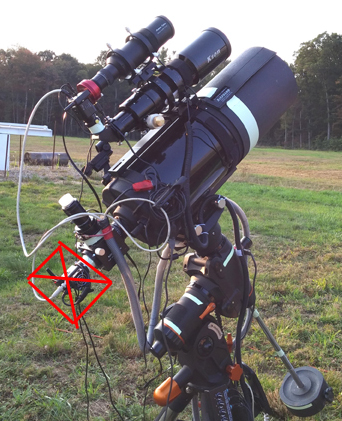
Here's a photo of the Canon lens and my 60mm Arcturus f4 240mm Refractor that normally functions as my guidescope, but is also used for wide-field imaging.
Hope you enjoyed the visit. Come again soon!
Larry McHenry, Pittsburgh, PA. USA
Astronomical Webportal: